Setting Up a Gitlab Runner on OpenShift
Overview
As a followup to my previous post, Setting Up a Personal GitLab Runner, we’re going to set up a GitLab runner in OpenShift. No longer will you have to make sure your PC is running to get builds working and executing. As long as you have an account and project on the Red Hat IT Open Platform OpenShift (requires VPN) instance, you can run builds on commit from GitLab. Prerequisites:
- Basic Docker knowledge
- Basic Helm knowledge
- Basic OpenShift/Kubernetes knowledge
- Helm 2.12+
- OpenShift 3.9+
Process
GitLab graciously provides a Helm chart to deploy a GitLab runner on Kubernetes. Unfortunately, the Helm chart and images were not designed with OpenShift in mind. There is at least one open issue for this and my merge request that attempts to address this. Unfortunately, my merge request only works with Helm versions 2.12+ while the Helm chart is being tested with version 2.9.0.
Prepare OpenShift
This step is simple, just follow the sign up instructions at the login page. Once you’ve done that, create a new project (or use an existing one). Then login using the oc command:
oc login https://open.paas.redhat.com/
Prepare GitLab Project
Before we can deploy our Helm chart, we’ll need to generate a token for use by the runner. If you already have a GitLab project you want to use for testing, go ahead and log in to it, otherwise create a new project in GitLab.
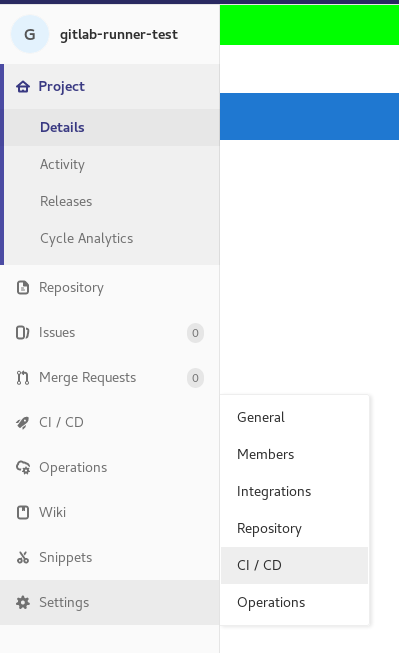
Once you’re in your project, open the CI/CD settings:
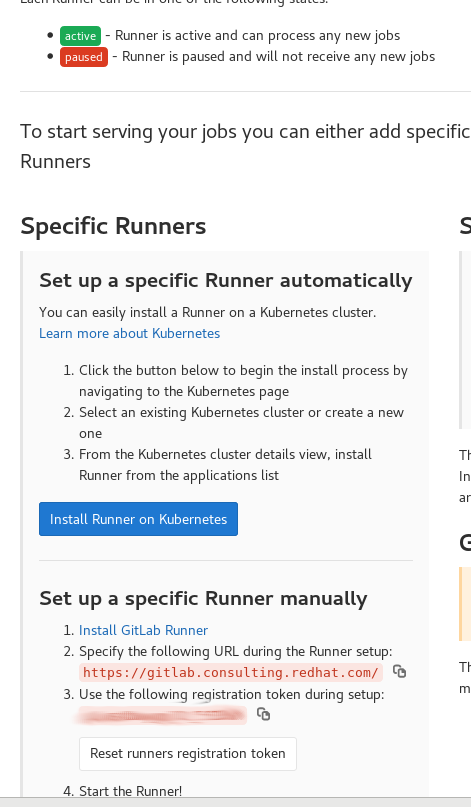
And note down or copy the runner token:
Deploy Helm Chart
Now with that out of the way, we’re ready to deploy the Helm chart. Due to the limited resources in that environment, we will not be installing Tiller in our project/namespace. Instead, we’ll download and install Helm and run Tiller locally:
mkdir helm
cd helm
wget https://storage.googleapis.com/kubernetes-helm/helm-v2.12.3-linux-amd64.tar.gz
tar -zxf helm-v2.12.3-linux-amd64.tar.gz
cd linux-amd64
export PATH="$PATH:`pwd`"

## Setup the right namespace for Tiller
export TILLER_NAMESPACE=fsi-gitlab-runner-kjanania

## Create a service account for Tiller
oc login
oc create sa tiller
oc policy add-role-to-user edit system:serviceaccount:fsi-gitlab-runner-kjanania:tiller

## Start Tiller
tiller
Now that we have Tiller running, we can download and run the helm chart.
mkdir gitlab-runner-chart
git clone git@gitlab.com:kjanania/gitlab-runner.git

## Checkout the modified branch
git checkout topic/openshift

## Create a values-override.yaml file for your specific settings
## Contents will be shown later
vim values-override.yaml

## Create a gitlab-runner service account
## Replace namespace with your own namespace
oc create sa gitlab-runner
oc policy add-role-to-user edit system:serviceaccount:fsi-gitlab-runner-kjanania:gitlab-runner

## Point to your local Tiller
export TILLER_NAMESPACE="fsi-gitlab-runner-kjanania"

## Replace the namespace with your own
helm install --namespace fsi-gitlab-runner-kjanania --name gitlab-runner -f ./values-override.yaml ./
The contents of that file will look something like this:
runnerRegistrationToken: aaaabbbbbccccc # your personal token
rbac:
  create: false
  clusterWideAccess: false
  serviceAccountName: gitlab-runner
runners:
  image: alpine:latest
  namespace: fsi-gitlab-runner-kjanania # replace with your namespace
  homeDir: /tmp
securityContext: null
Execute Runner for the First Time
Now that we’ve set everything up, you should be ready to run your first build. Create a file in your project named .gitlab-ci.yml. The contents of the file can look like this:
# If you don't specify an image, it will use alpine:latest as configured in value-overrides.yaml
# image: busybox:latest

before_script:
  - echo "Before script section"
  - echo "For example you might run an update here or install a build dependency"
  - echo "Or perhaps you might print out some debugging details"

after_script:
  - echo "After script section"
  - echo "For example you might do some cleanup here"

build1:
  stage: build
  script:
    - echo "Do your build here"

test1:
  stage: test
  script:
    - echo "Do a test here"
    - echo "For example run a test suite"

test2:
  stage: test
  script:
    - echo "Do another parallel test here"
    - echo "For example run a lint test"
Now we’re ready to execute the build. If it does not run automatically on commit, you can start it through GitLab by clicking “Run Pipeline”:
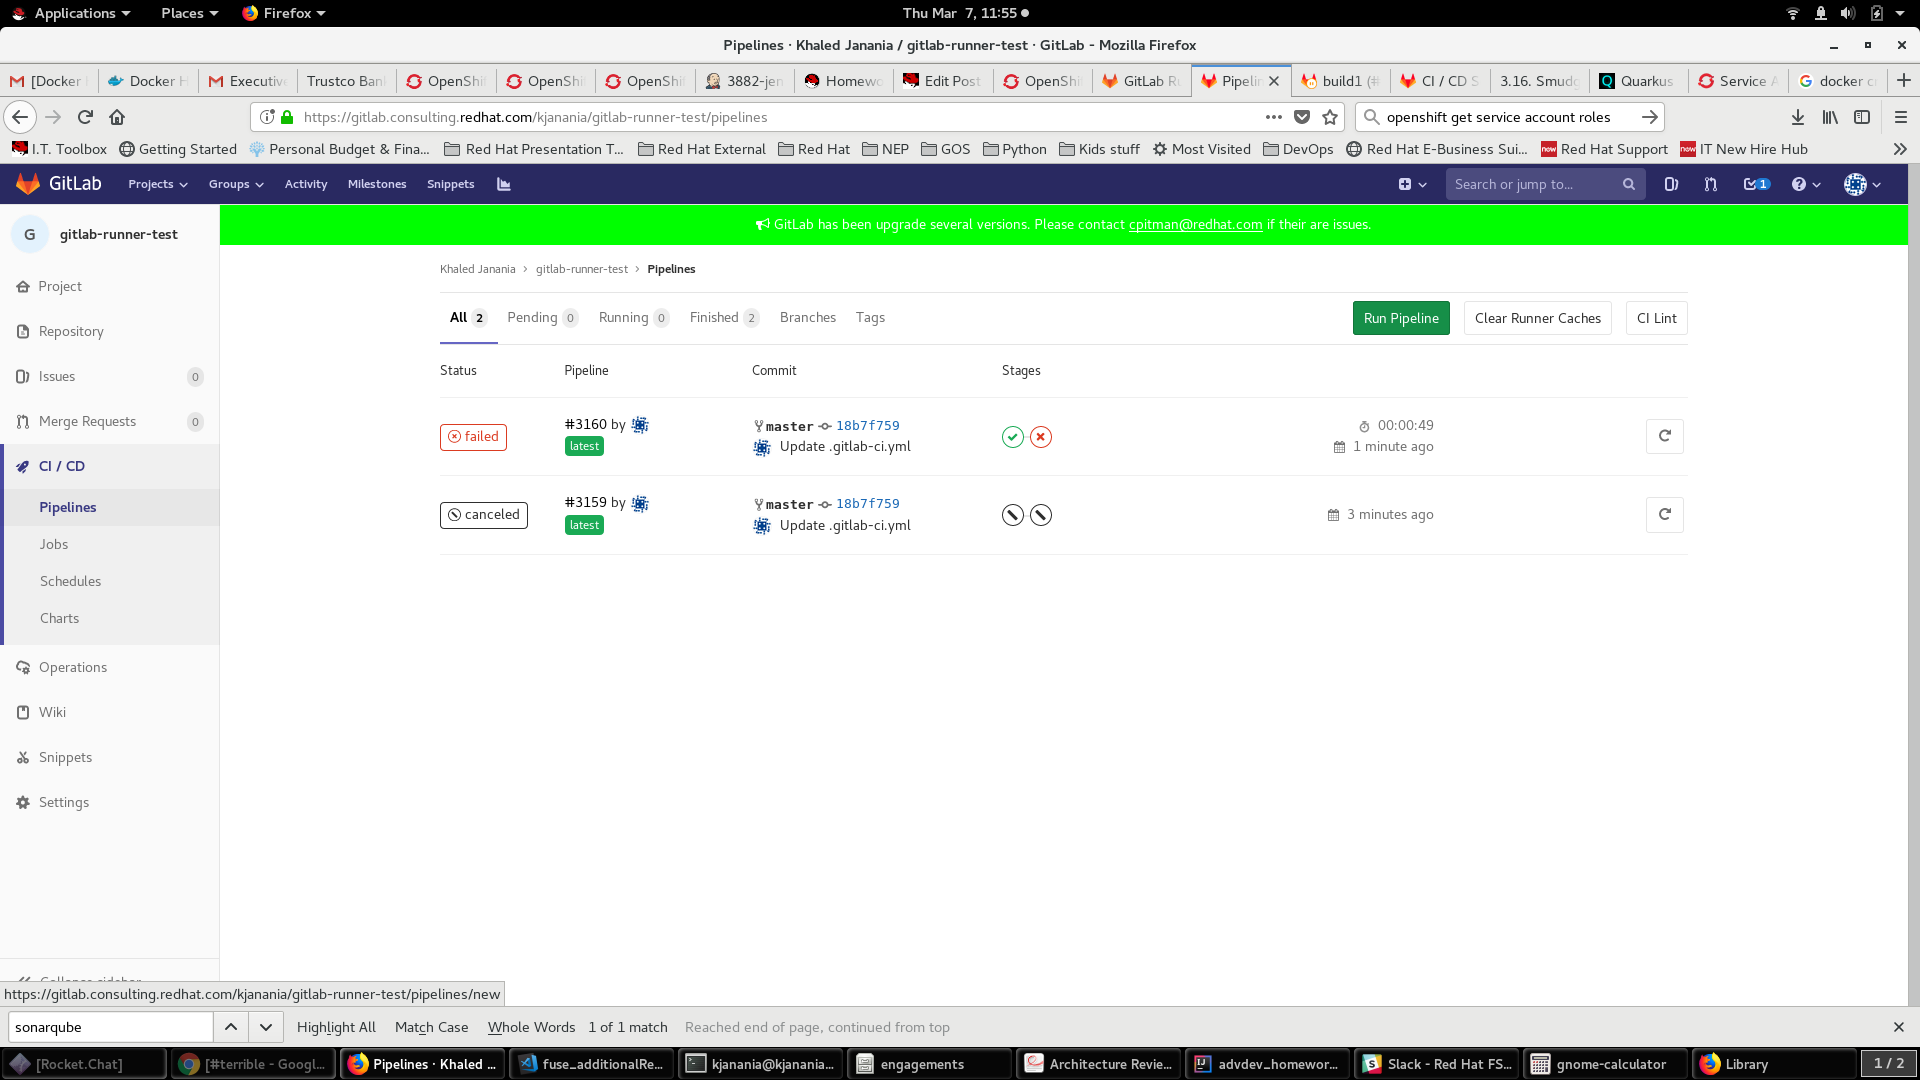
Once the pipeline is running, you can check the status through the GitLab UI and you can see the containers running in OpenShift:
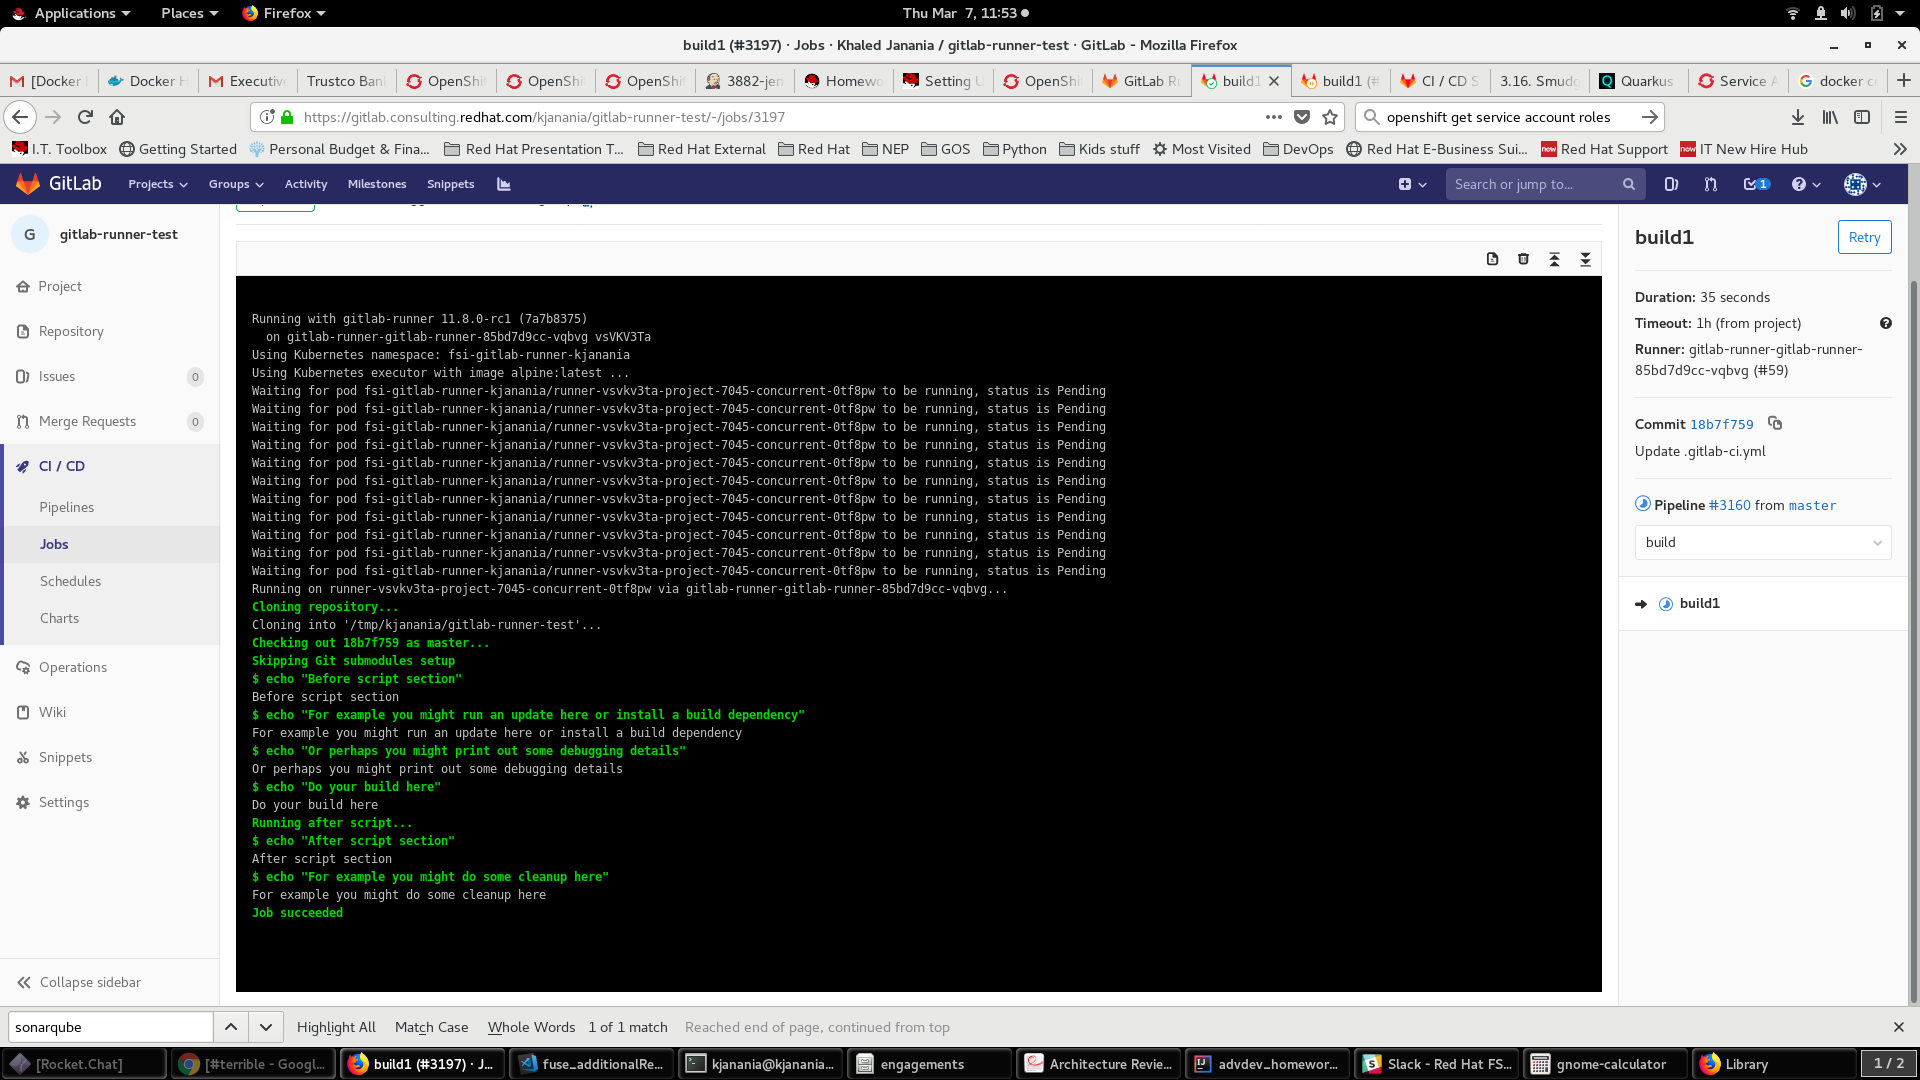
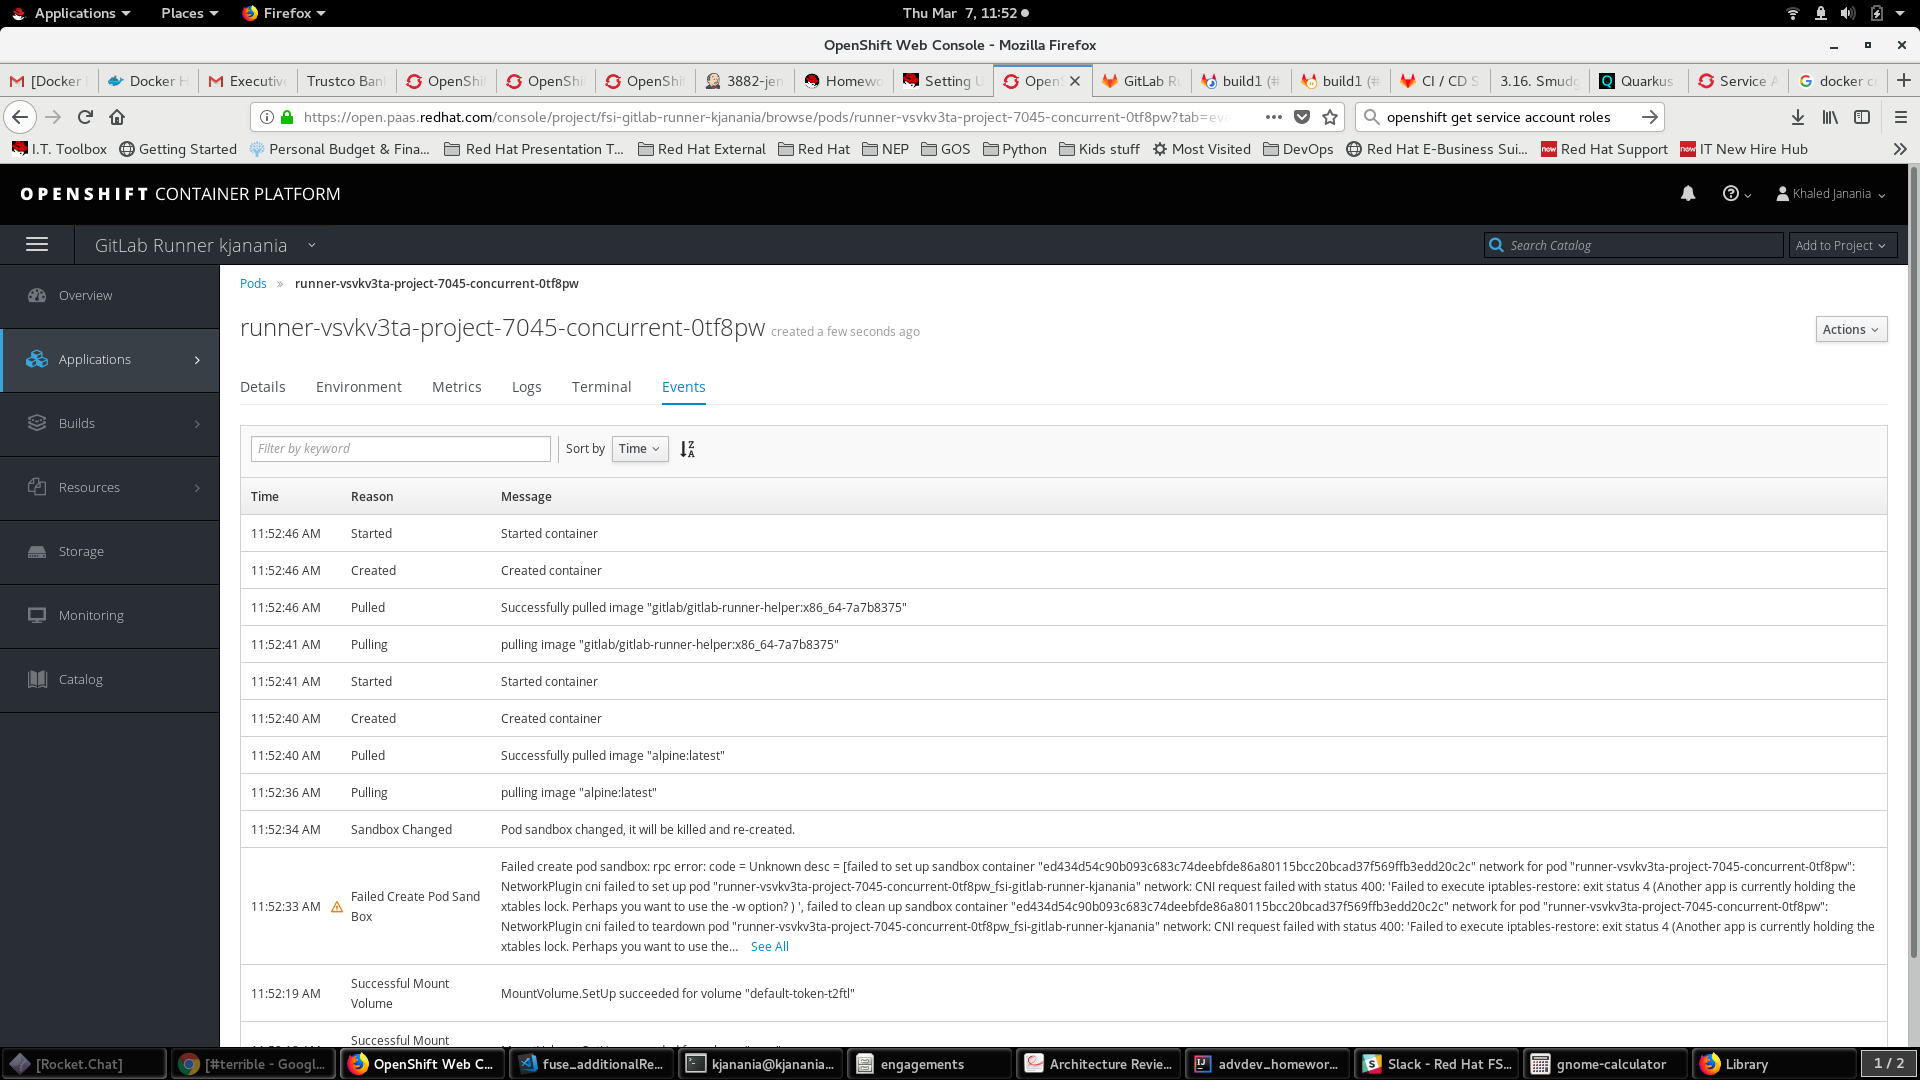
And now you’ve successfully run builds in OpenShift!
Notes
Due to the security that OpenShift provides, you won’t be able to add packages to most containers as part of your pre-build run. Instead, you’ll need to build these images ahead of time using other methods and then run your build as usual.
References
GitLab Runner Helm Chart Run GitLab Runner on Kubernetes GitLab CI Configuration OpenShift customized GitLab Runner Helm Chart
